Understanding Daisies
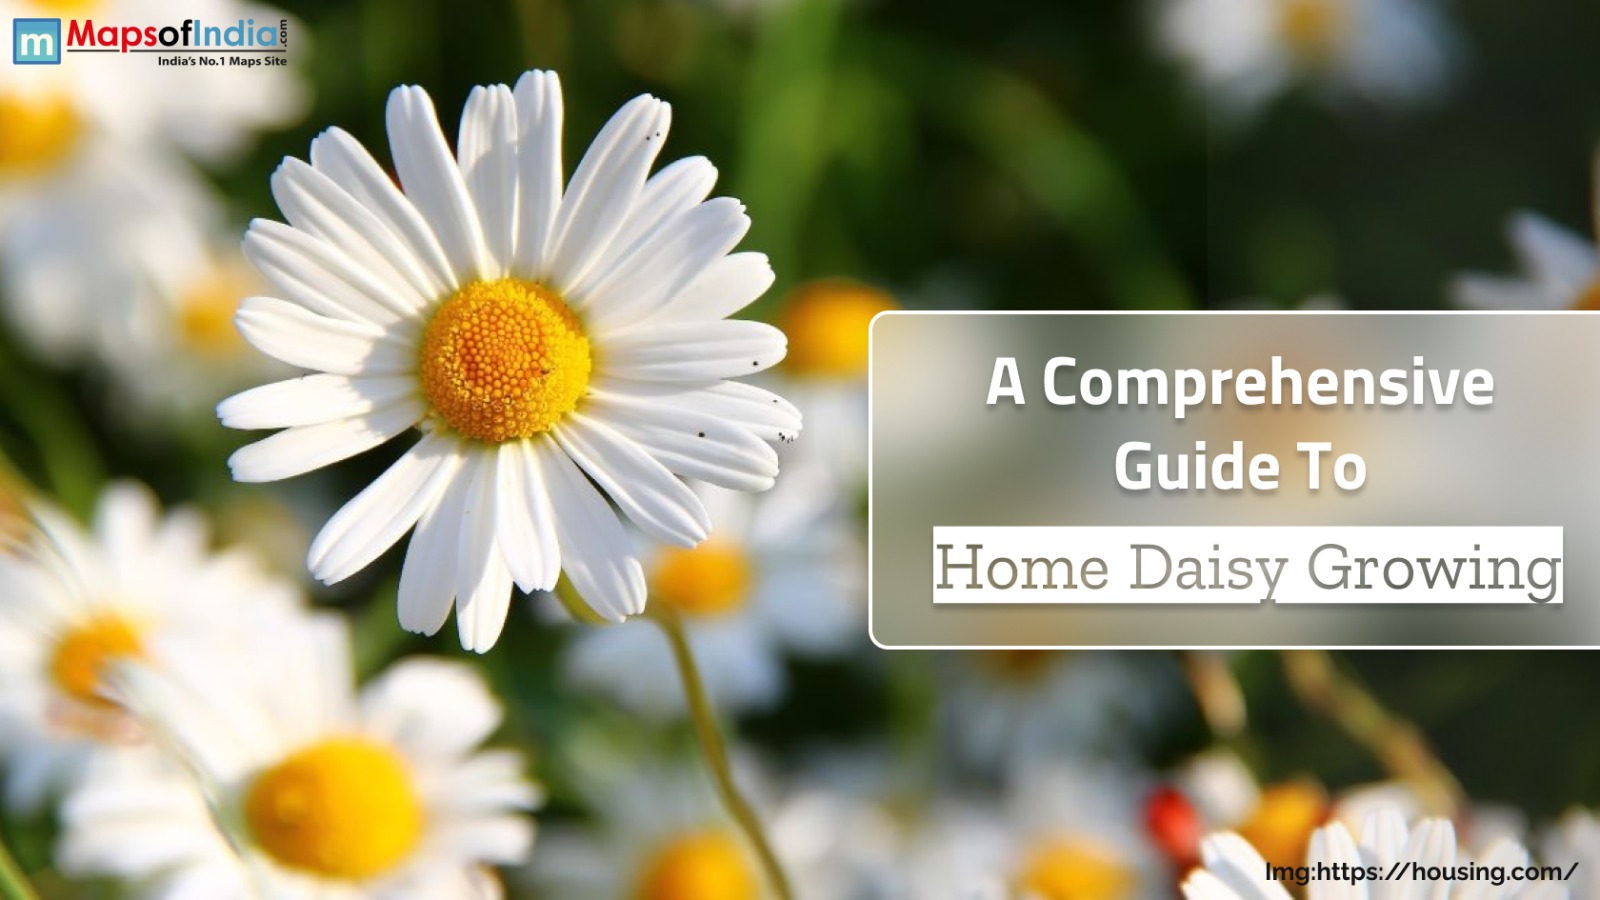
But before you get started, it helps to know a bit about daisies. Daisies are members of the Asteraceae family and come in multiple varieties, including:- Shasta Daisy (Leucanthemum x superbum): Large classic white petals and a yellow centre, ideal for home gardens.
- Oxeye Daisy (Leucanthemum vulgare): Various wildflowers are suitable for giving a naturalised appearance.
- African Daisy (Osteospermum): These flowers are popular for their bright colours and ability to deal with hot weather.
- English Daisy (Bellis perennis): Compact varieties commonly used in borders and pots.
Step 1: Start with the Right Variety
Depending on your aesthetics and space taste, you have a variety. For example:- They make a great choice for a large garden, such as Shasta daisies.
- African daisies are perfect for pots indoors with their bright hues.
- English daisies are suitable for tight spots or edging.
Step 2: Prepare the Soil
They prosper in moderately fertile, well-drained soil. Prepare the soil by following these steps:- Test the Soil: Do a soil test using a pH test kit Daisies thrive in slightly acidic to neutral soils (pH 6.0 to 7.0).
- Amend the Soil: To enhance fertility and drainage, incorporate organic matter like compost or well-rotted manure.
- Loosen the Soil: Use a garden fork to aerate the soil and break up clumps. This will encourage you to grow the proper root growing.
Step 3: Find the Best Location
Daisies need lots of sun to grow well. Choose a location in either full sun (at least 6 hours a day) or partial or light shade. Most daisies tolerate partial shade but prefer full sun to promote optimal growth and prolific bloom.Step 4: Planting Daisies
Daisies are propagated via seeds, cuttings or young plants. Each method has its benefits:A. Growing from Seeds
- Soil Temperature: Start seeds indoors 6-8 weeks before the last frost or sow outdoors in spring once the frost has passed.
- Sowing: Indoors: Sow in a light, well-draining potting mix in seed trays. Sow the seeds onto the surface and just barely cover them. Outdoors: Braise the seeds on prepared soil and press them in lightly.
- Watering: Water sparingly enough to dampen the soil (not soggy).
- Germinating the seeds: Set the seeds in a warm spot. They generally germinate in 10-14 days.
B. Growing from Cuttings
- Choose Cuttings: Take 3-4 inch cuttings from healthy, mature plants in late spring or summer.
- Preparation: Strip the bottom few leaves and dip the cut ends in the rooting hormone.
- Planting: Place them in a pot of sand and compost. Place them in a warm, shaded spot until they are rooted.
C. Planting Young Plants
- Spacing: When planting, space your plants 12-24 inches apart to give them room to grow and for the air to circulate.
- Depth: Plant at the same depth they grew in their nursery pots to prevent stem rot.
Step 5: Watering Requirements
Daisies like to be kept moist yet do not respond well to being saturated. Here’s how to give them exactly the right amount of water:- Once a week, water deeply, keeping the soil wet but not soggy.
- Increase the frequency of watering during hot or dry spells.
- Don’t water overhead, where wet leaves can spread fungal diseases.
Step 6: Fertilisation
Daisies do not require a lot of fertiliser, but as with any plant, giving them nutrients is always a good way to ensure good growth and flowering. Follow these guidelines:- First off Fertilisation: Incorporate a well-balanced slow-release fertiliser into the soil during planting.
- Continuous Feeding: Every 4-6 weeks in the growing season with a liquid fertiliser.
- Don’t over-fertilise, as too many nutrients can encourage foliage growth at the expense of flowers.
Step 7: Pruning and Deadheading
Frequent pruning and deadheading promote continuous blooming and support plant health:- Deadheading: Snip off spent flowers to focus the plant’s effort on making new ones.
- Pruning: Trim the stems one-third after flowering to encourage bushier growth.
- Prune out yellowing or damaged leaves to avoid dose spread.
Step 8: Managing Pests and Disease
Daisies are pretty easy to tend to but may occasionally cause problems with aphids, powdery mildew, or slugs. Here’s how to address them:- Aphids: Dust plants with water and mild dish soap.
- Powdery Mildew: Maintain good air circulation and not watering from above. Use a fungicide if necessary.
- Slugs and Snails: To kill these pests, use organic slug pellets or make beer traps.
Step 9: Overwintering
In colder parts of the country, daisies need some Winter protection:- Mulch at the base of the plants with straw or leaves to insulate the roots.
- For container daisies, bring them to a sheltered spot or inside to prevent frost damage.
- Cut the stems back to a few inches above the soil to prepare for dormancy.
Step 10: For Propagation and Division
To maintain your daisies from one year to the next, propagate or divide the plants every 2-3 years:- Division: In early spring or autumn, lift established plants and divide them into smaller clumps. Transplant these factions into ready soil.
- Propagation: Gather seeds from dried flower heads and store them in a cool, dry location for use next growing season.
Growing Daisies Indoors
For growing daisies indoors, consider these tips:- Use pots with drainage holes so your plants don’t waterlog.
- Put the pots in a sunny window for 4-6 hours of sunlight. Add grow lights if natural light is not enough.
- Water sparingly, allowing the top inch of soil to dry between waterings.
Common Mistakes to Avoid
- Overwatering: Too much moisture can cause root rot.
- Soil that Accumulates Water: Ensure your soil and pots have good drainage to avoid soggy roots.
- Overcrowding: Give plants enough space to prevent competition and promote airflow.
- Skipping Deadheading: Regularly remove spent blooms to keep your plant neat and encourage new blossoms.